Altenew November 2025 Release Blog Hop + Giveaway

Hello, everyone, and welcome to the Altenew November 2025 Release Blog Hop! If you came here from Altenew’s blog, you’re on the right track. If not, be sure to go back and start from there so you don’t miss a thing!
Giveaway info:
$300 in total prizes! To celebrate this release, Altenew is giving away a $100 gift certificate to 1 lucky winner and a $50 gift certificate to 4 winners! Please leave a comment on the Altenew Blog and/or each designer’s blog post on the blog hop list below by November 13th for a chance to win. Altenew will draw 5 random winners from the comments left on each stop of this blog hop and announce the winners on the Altenew’s Blog Hop Post on November 15th, 2025.
The winner of the $100 gift certificate will be chosen from comments left on the Altenew blog.

Today I’m sharing two floral cards created with products from the November 2025 Release collection .
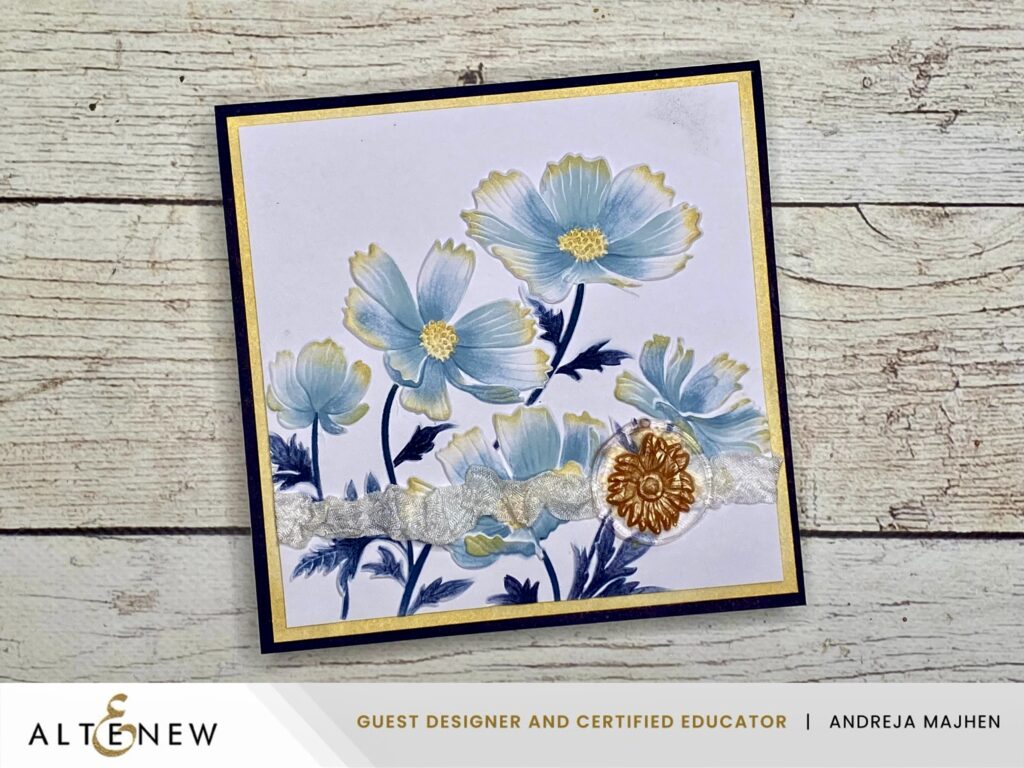
DANCING COSMOS SET
The Dancing Cosmos 3D Embossing Folder and Dancing Cosmos Simple Coloring Stencil Set (4 in 1) are stunning addition to the Altenew crafting essentials. For some interest I added Wax seal made with Sunflower Wax Seal Stamp and Warm Gold Wax Beads.
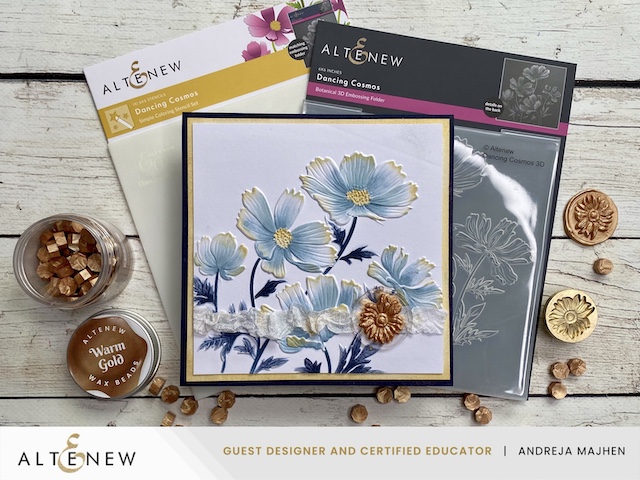
Easy to Follow Steps
- Emboss white cardstock with the Dancing Cosmos 3D Embossing Folder. Shift paper if you want a different layout.
- Place cardstock on Stampwheel, add stencils, and color with mini ink blenders. Test ink on scrap first.
- Color petals with light blue, add darker tones near centers. Use darker blue for stems and leaves. Add gold ink to petal edges and centers.
- Ink panel border with gold, and card base with dark blue. This ties the design together.
- Melt Warm Gold Wax Beads, stamp the design, and clean edges. For two-tone, press stamp into clear hot glue.
- Back embossed panel with extra cardstock, add ribbon, and attach wax seal with hot glue.
*
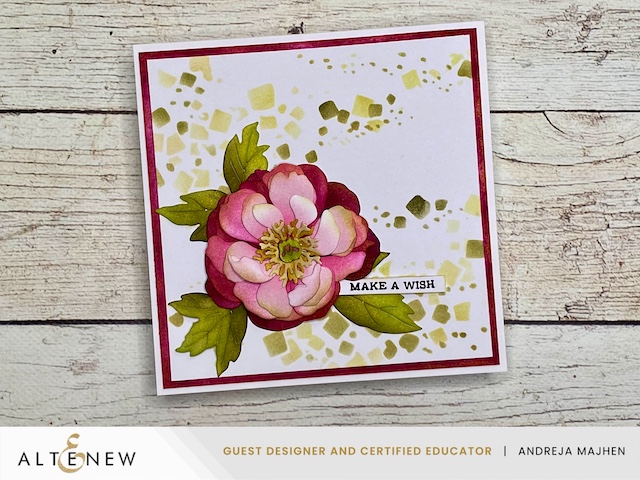
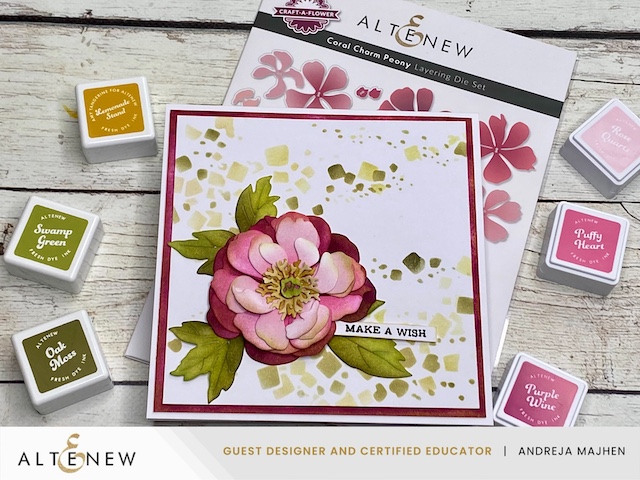
Craft-A-Flower: Coral Charm Peony Layering Die Set
Easy to follow steps:
1. Die-cut all flower and leaf layers from white cardstock using the Craft-A-Flower: Coral Charm Peony Die Set and place them on your Sticky Mat.
2. Follow the layering guide and use the Keyhole System for quick and perfect alignment.
3. Blend the petals with the Rose Petal Ink Set — darkest at the base, lighter toward the top.
4. Color the leaves with Forest Trail inks and add a soft touch of Enchanted Gold on the centers and edges for shimmer.
5. Gently shape the petals and assemble the flower using the Perfect Picker Tool.
6. For the background, stencil a white panel with the Scattered Tiles Builder Stencil, blending greens and a hint of gold for depth.
7. Layer everything on your card base, add the flower, and finish with a stamped sentiment in Obsidian Ink.
That’s it from me today! Your next stop is Svitlana Shajevich .
You can find the full line up below.
Thank you for stopping by today!